
Last updated November 21, 2026
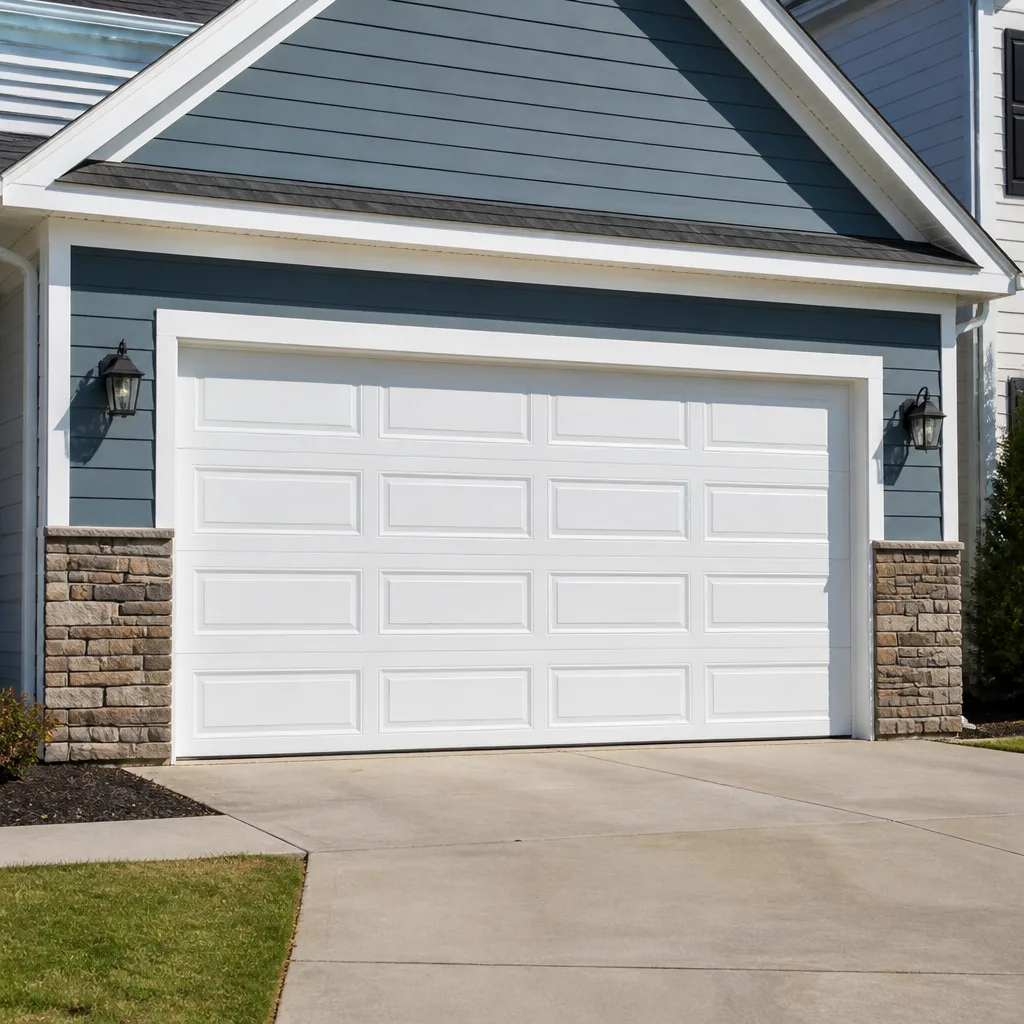 Raised-panel steel
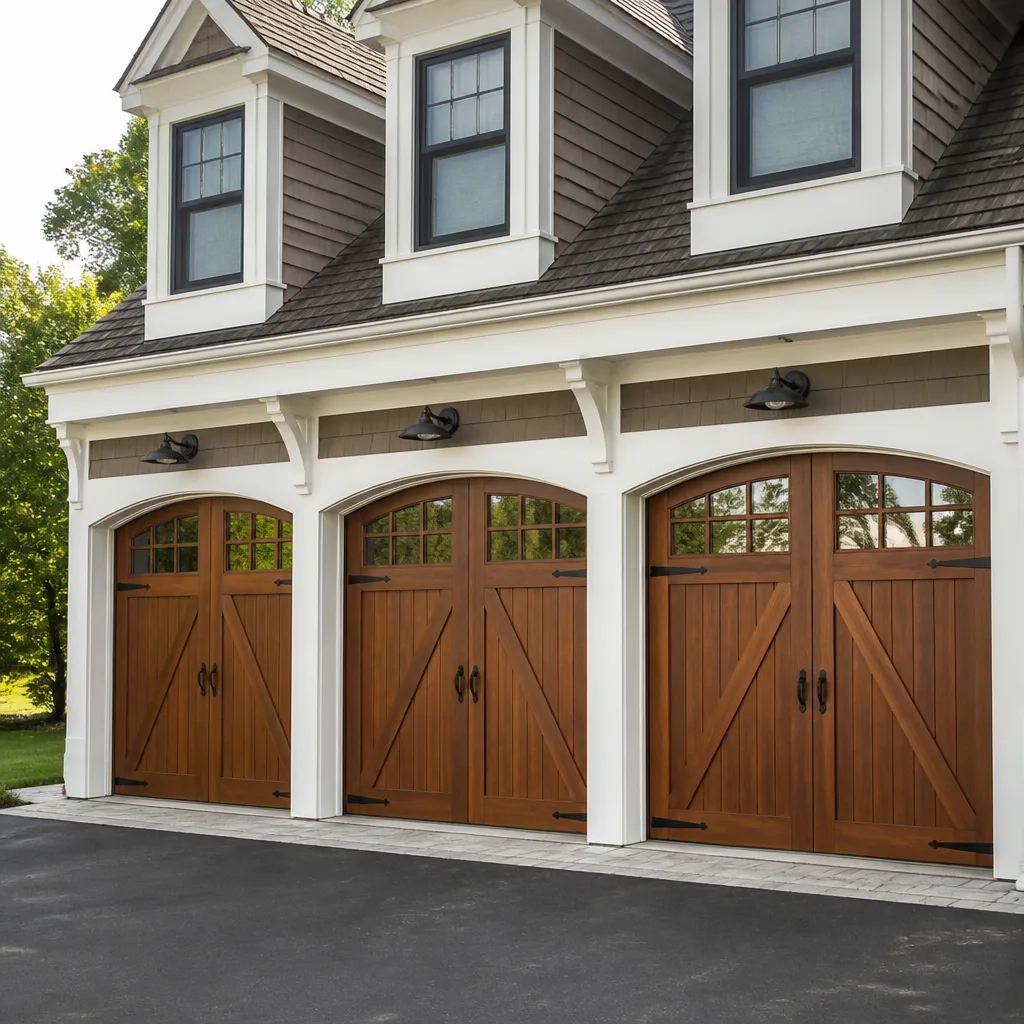 Carriage house
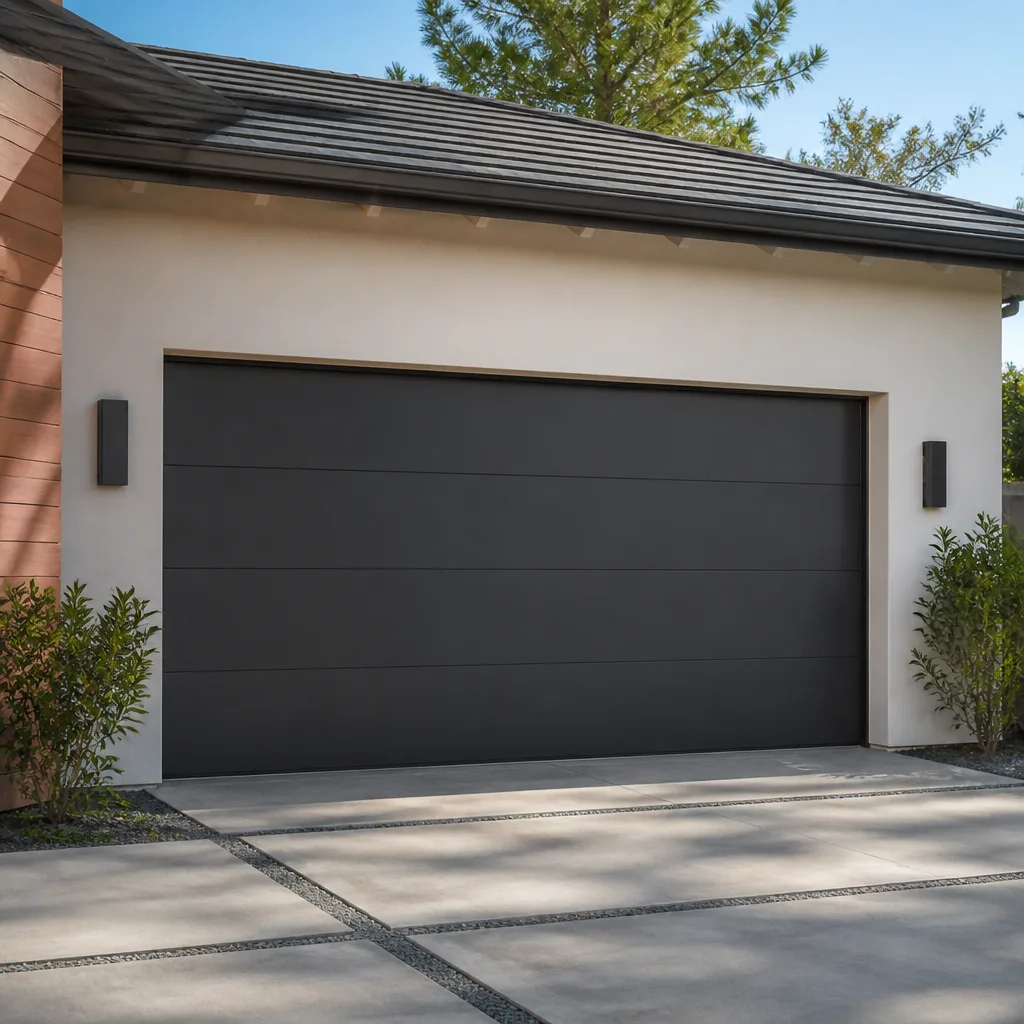 Modern flush
 Full-view glass
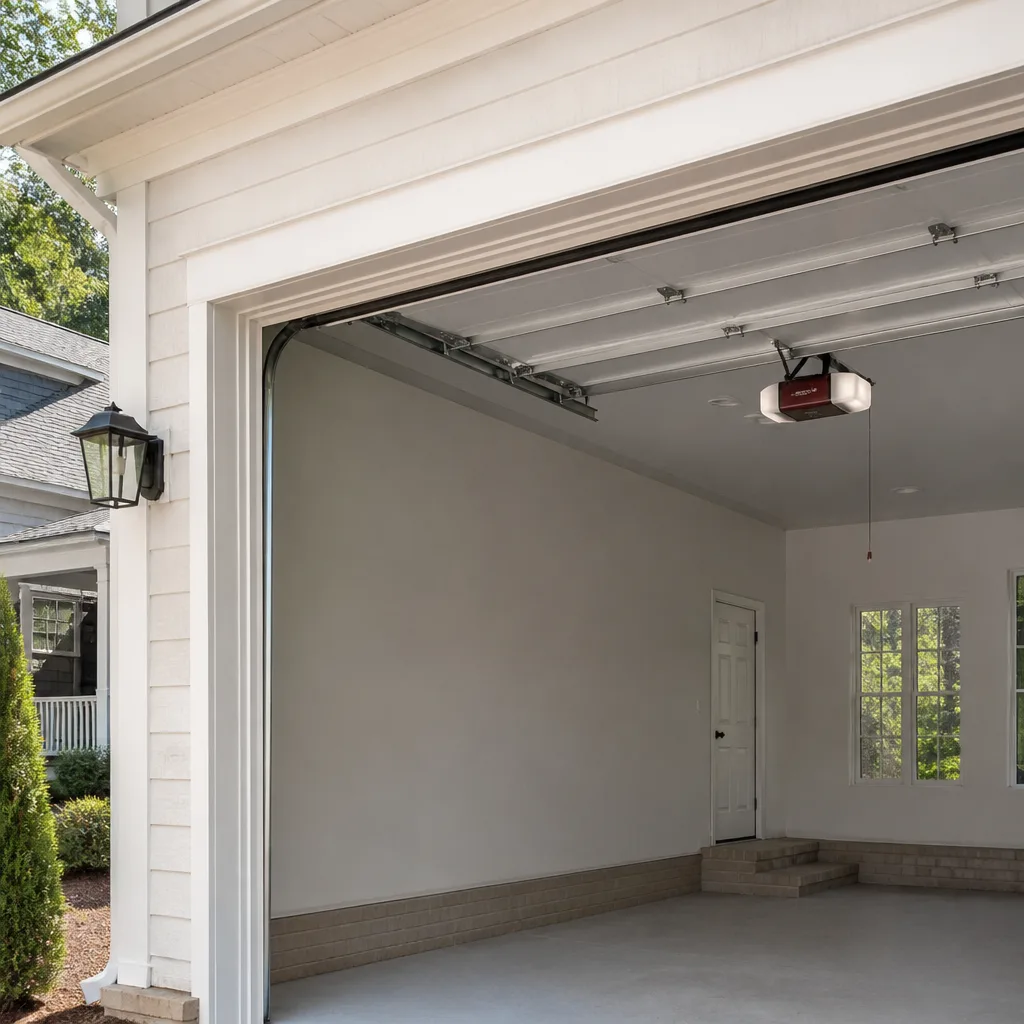 LiftMaster openers
 Chamberlain openers
Full 25-point door and opener safety check with every visit - springs, cables, rollers, tracks, and your LiftMaster or Chamberlain opener included
You get a price before we start. It does not change when the pro arrives.
Get your free estimateGarage Door Repair Maintenance Checklist for Lakewood Homeowners
Generic checklists tell you to “inspect your springs.” That advice is useless the moment you’re standing in your garage looking at a coil of steel, wondering whether the gap you see is normal or the last warning before a snap. A checklist only earns its place on your wall if it tells you what pass and fail actually look like. That’s the difference we’ve built into this guide: every item has a clear visual test, a note on whether it’s safe for you to touch, and a version adjusted for how doors wear in Lakewood’s humid summers and cold winters. By the end you’ll know what to check, what to leave alone, and when to call.
Quick Answer
A working garage door maintenance routine covers seven things: springs, cables, rollers, tracks, hinges, the door balance, and the opener’s safety reverse. Check them once a season, lubricate moving metal twice a year, and test the safety reverse every month. Anything involving spring tension or a frayed cable is a stop-and-call item, not a DIY one. Everything else on this list you can inspect yourself in about fifteen minutes with a flashlight and a level.
Styles & brands we work with
- Raised-panel steel
- Carriage house
- Modern flush
- Full-view glass
- LiftMaster openers
- Chamberlain openers
Table of Contents
- Springs: What a Failing Torsion Spring Actually Looks Like
- Cables and Drums: The Pass/Fail Test
- Rollers and Hinges: When Wear Becomes a Repair
- Tracks and Alignment: Reading the Gaps
- The Balance Test and What It Tells You
- Opener Checks, Including LiftMaster and Craftsman Systems
- How Lakewood’s Seasons Change Your Schedule
- Building a Maintenance Log That Saves You Money
Springs: What a Failing Torsion Spring Actually Looks Like
Springs are the one item on this checklist where “look closely” is as far as we’ll take you. A torsion spring sits on the shaft above the door and holds the door’s weight under heavy tension. You can see it from the floor without touching it. You should never adjust, unwind, or remove one yourself.
Here’s what to look for from a safe distance:
- Pass: The spring is one continuous coil with an even gap between every turn. The winding cones at each end are tight against the coil. The paint is intact.
- Fail (call us): A visible gap of an inch or more anywhere in the coil. That gap means the spring has already broken, even if the door still opens.
- Fail (call us): Rust staining or heavy flaking along the coil. Rust thins the wire from the inside, and a spring that’s pitted is a spring that’s closer to failing.
- Fail (call us): The door feels unusually heavy when you lift it by hand, or the opener strains and hesitates on the first foot of travel.
On a LiftMaster-paired door, which is common across the housing around Lakewood, a worn spring often shows up first as an opener that reverses for no reason. The opener’s force sensor is reading resistance it didn’t used to see. That’s not an opener problem. It’s usually the spring telling you it’s tired.
One detail worth knowing: springs are sold and replaced one at a time, but when one fails on a two-spring door the other is almost always near the end of its life too. A matched pair gets replaced together, and a pair costs roughly twice a single spring. We always price it that way upfront so there’s no surprise. If you’re seeing any of the fail signs above, our garage door spring repair team handles nothing but this repair, and it’s the one job in the trade we’d never suggest you attempt on your own.
Cables and Drums: The Pass/Fail Test
The lift cables run from the bottom corners of the door up to the drums at each end of the spring shaft. They’re under constant tension too. You can look, but don’t touch, and never try to re-seat a cable that’s come off its drum.
- Pass: Both cables are taut, straight, and seated neatly in the drum groove. No fraying, no kinks, no visible broken strands.
- Fail: Any fraying, even a couple of loose strands near the bottom bracket. Frayed cables fail without warning.
- Fail: One cable noticeably slacker than the other, or a cable that’s jumped the drum. That means the door is hanging unevenly and is a same-day call.
- Fail: A cable lying loose on the floor. Stop using the door immediately.
Cables are often the second casualty after a spring breaks, because the door drops and yanks them off the drums. If a spring has gone, have the cables inspected in the same visit. Replacing one without the other is like fixing a flat tire and ignoring the bent rim. This is the kind of diagnosis our technicians make on every spring call before any work starts, and the price is agreed with you before we begin.
Rollers and Hinges: When Wear Becomes a Repair
This is the section where DIY is genuinely fine. Rollers and hinges are the moving parts you lubricate, and you can inspect all of them from a step stool.
Rollers sit in the hinges at the edge of the door and ride inside the tracks. Check each one:
- Pass: The roller spins freely by hand, the wheel is round, and the stem is straight.
- Fail: A flat spot on the wheel, a wobbly stem, or a roller that won’t turn. Flat-spotted rollers make the door chatter and grind, and they wear the track faster.
- Fail: Cracks in the nylon wheel. Once a nylon roller cracks it can shatter and drop the door off its track.
Hinges are simpler. Look for loose screws, bent leaves, or rust at the pivot. Tighten loose screws with a screwdriver; a screw that spins freely means the hole is stripped and needs a longer fastener or a hinge replacement. A door with eight hinges and two worn ones will sound rough and run unevenly, and new hinges are a small job with a big effect on how quietly the door operates.
For lubrication, use a garage-door-specific spray lubricant on rollers, hinges, and the torsion shaft bearings once in spring and once in fall. Avoid heavy grease, which collects grit and turns into grinding paste over a Lakewood summer.
Tracks and Alignment: Reading the Gaps
Track problems are usually visible before they’re audible. Stand inside the garage with the door closed and look up the full length of each vertical and horizontal track.
- Check for bends. A dented or kinked track will drag a roller and eventually derail the door. Pass: smooth, straight rails. Fail: any visible bend or crease.
- Check the gap to the rollers. The rollers should sit snugly inside the track with a small, even gap on each side. A large gap on one side means the track has been knocked out of alignment.
- Check the mounting brackets. The brackets holding the track to the wall and ceiling should be tight. Loose brackets let the door shift.
- Check for debris. Small stones, leaves, and grit collect in the bottom curve of the track. Wipe them out by hand. This is safe and worth doing monthly.
Never bend a track back into shape yourself. Track steel is thin, and forcing it usually kinks it further. A door that’s come out of its track is a call-us situation, and one that often gets garage door repair the same day. If you’re in Lakewood and the door has jumped the track, don’t run the opener, because that turns a minor alignment into a bent panel or a stripped gear.
The Balance Test and What It Tells You
The balance test is the single most useful check a homeowner can do, and it’s completely safe. It tells you whether the springs are carrying the door’s weight the way they should.
- Close the door and disconnect the opener using the manual release cord, usually a red handle hanging from the carriage.
- Lift the door by hand about halfway and let go. A properly balanced door stays put at roughly waist height.
- If the door drops on its own, the springs are losing tension. If it rises on its own, they’re over-tensioned. Either way, that’s a technician visit.
- Reconnect the opener by running it until the carriage re-engages, or by following the opener’s reconnect instructions.
Do this once a month and log the result. A door that passed in March but drops in October is telling you the springs have weakened with use. Spotting that early means you replace a spring on your schedule instead of dealing with a snapped one on a morning you need to get to work.
Opener Checks, Including LiftMaster and Craftsman Systems
The opener is the part most homeowners test hardest and inspect least. Two checks matter more than any other, and one of them is a safety test you should run every month.
The safety reverse test: place a piece of wood, about two inches thick, flat on the floor under the door’s path. Close the door with the wall control or remote. The door must contact the wood and immediately reverse. If it stops on the wood instead, the opener’s force or travel limits need adjusting, and you shouldn’t use the door until it’s fixed.
The photo-eye test: the two small sensors at the bottom of the tracks should have a clear, unobstructed line between them, with a steady light on each (not a flickering one). Wipe the lenses, straighten them if they’ve been bumped, and re-test.
Beyond those two, look at the opener’s chain or belt. A little slack is normal; a chain dragging on the rail or a belt with visible fraying is not. On LiftMaster and Craftsman units, the wall control and the app both report when the opener is straining, and that’s a signal to check the door’s balance rather than the motor. A smart opener that starts reversing unexpectedly is usually reporting a door problem, not an opener problem. If the opener itself is the fault, our garage door opener repair covers the brand-specific diagnostics, and we work the major legacy and Wi-Fi-enabled systems rather than guessing at the settings.
How Lakewood’s Seasons Change Your Schedule
A maintenance schedule built for a dry climate doesn’t fit a Lakewood garage. The two forces that age hardware fastest here are humidity in the warm months and the freeze-thaw swing in winter, and each works on a different part of the door.
Summer humidity is the enemy of metal and wood alike. Springs, cables, hinges, and track brackets all collect condensation when warm humid air meets cooler metal, and rust starts in the joints where you can’t easily see it. That’s why fall lubrication matters more here than a generic “once a year” note. In practice we’d recommend:
- Spring: full inspection, fresh lubricant on rollers, hinges, and the torsion shaft.
- Summer: check for rust on springs and cables monthly, and clean grit out of the tracks more often.
- Fall: another round of lubrication before the cold, re-test the balance, and check the bottom seal for cracks that let cold air in.
- Winter: listen for new noises. Cold makes metal contract and old lubricant stiffen, and a door that ran quietly in October will tell you its problems in January.
Wooden and wood-composite doors need a separate eye on the finish, since humidity cycling works on them differently than on steel doors. If the paint or stain is failing, the panel edges take on moisture. That’s not a spring problem, but it shortens the life of the door all the same.
Building a Maintenance Log That Saves You Money
A maintenance log turns a technician visit from a full inspection into a quick confirmation. When you can tell us the date your door last passed the balance test, the last time a spring was replaced, and which hinge started squeaking in September, we skip the guesswork and get straight to the fix. That’s less time on your invoice and a more precise quote.
Keep it simple. A sheet taped inside the garage wall works. Each entry needs six fields:
- Date of the check or service.
- Item checked (springs, cables, rollers, tracks, balance, opener, safety reverse).
- Result – pass, or the specific fail sign you saw.
- Action taken – lubricated, tightened, replaced, or called.
- Brand and model of the door and the opener, if you know them (for example, Clopay door, LiftMaster opener).
- Who did the work – you, or the technician.
The brand field is worth filling in on day one. Knowing your door’s manufacturer and model means the right rollers, hinges, and opener parts get ordered first time. It’s one of the reasons we work so many of the widely installed brands, from LiftMaster and Craftsman to Wayne Dalton and Raynor, since familiar systems get diagnosed faster.
Common Mistakes to Avoid
- Spraying WD-40 on the springs. It’s a solvent, not a lubricant, and it strips away the protective coating. Use a garage-door-specific lubricant on the moving parts and leave the spring finish alone.
- Adjusting the opener’s force limits to “fix” a heavy door. Turning up the force to force a stiff door closed is masking a spring or balance problem. The door gets heavier and the opener fails faster.
- Ignoring a gap in the spring coil because the door still moves. A broken spring can let the door work for a short while on the other spring, and that puts all the load on one part that’s already near failure.
- Pushing a roller back into a bent track with a screwdriver. This usually kinks the track and can derail the door mid-travel. Leave the bend and call.
- Skipping the safety reverse test because the door “seems fine.” The safety reverse is the one check that protects people and pets, and it can drift out of adjustment without any change in how the door looks.
- Letting Lakewood summer humidity rust the joints. A single missed fall lubrication lets condensation work into the hinge pins and cable ends, and rust in those spots is much harder to stop than to prevent.
- Running the opener after a spring breaks. The opener is now lifting the door’s full weight with no help from the spring, and it will strip its gear or bend a panel. Disconnect it and lift the door by hand only with help, then call.
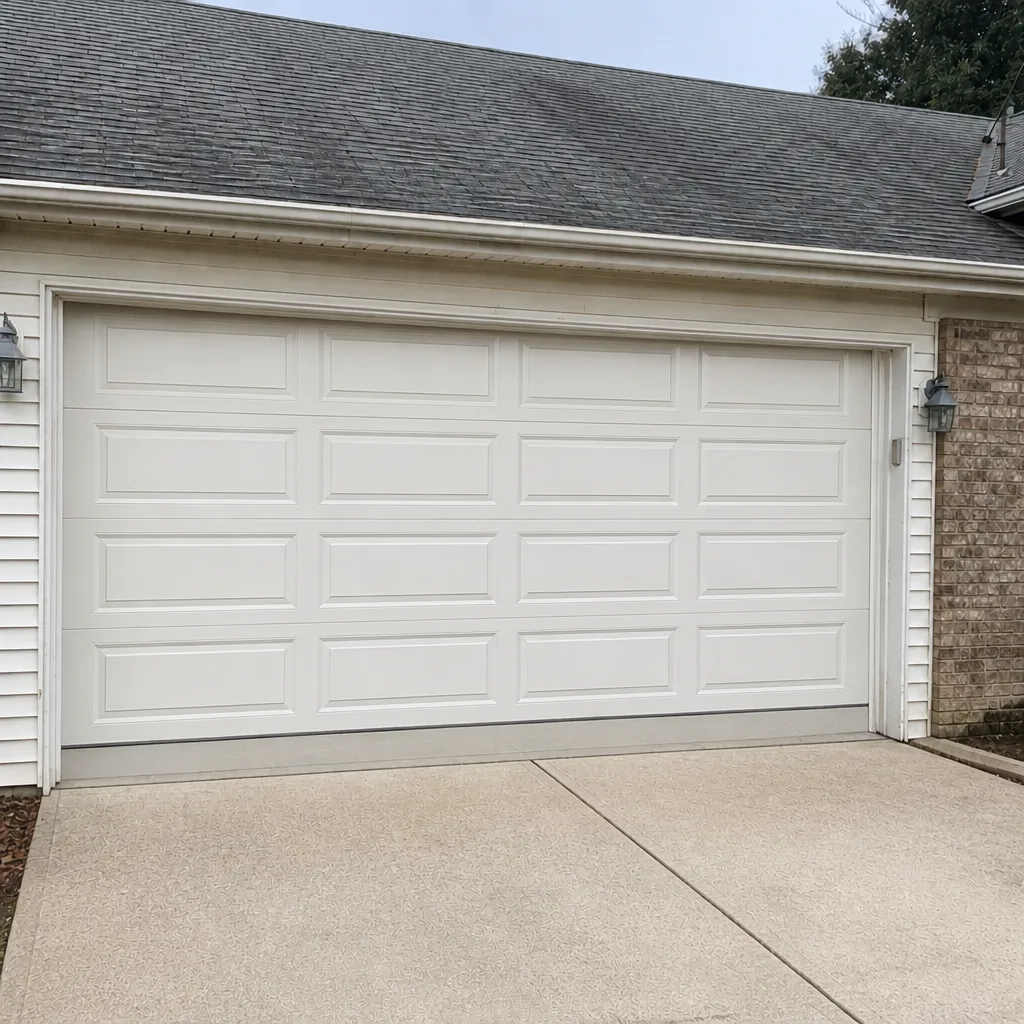
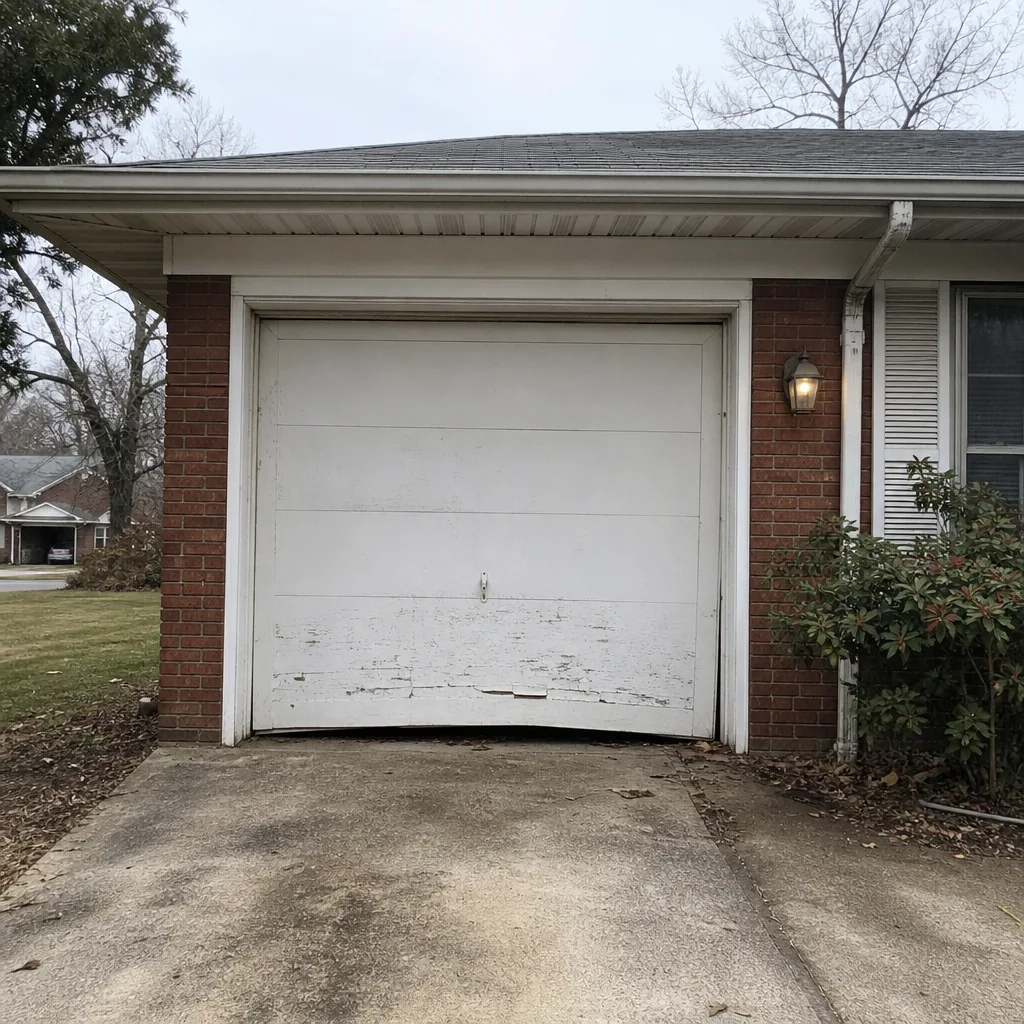
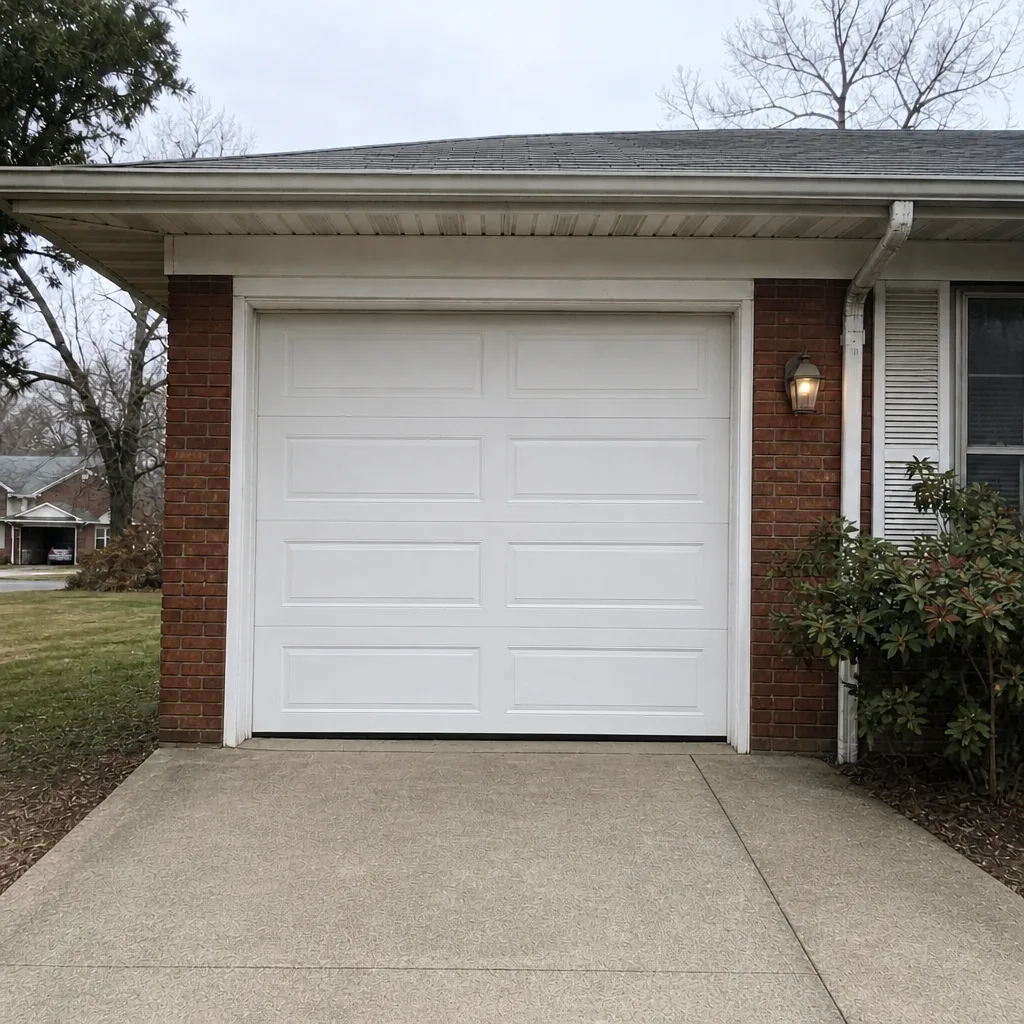
See the difference
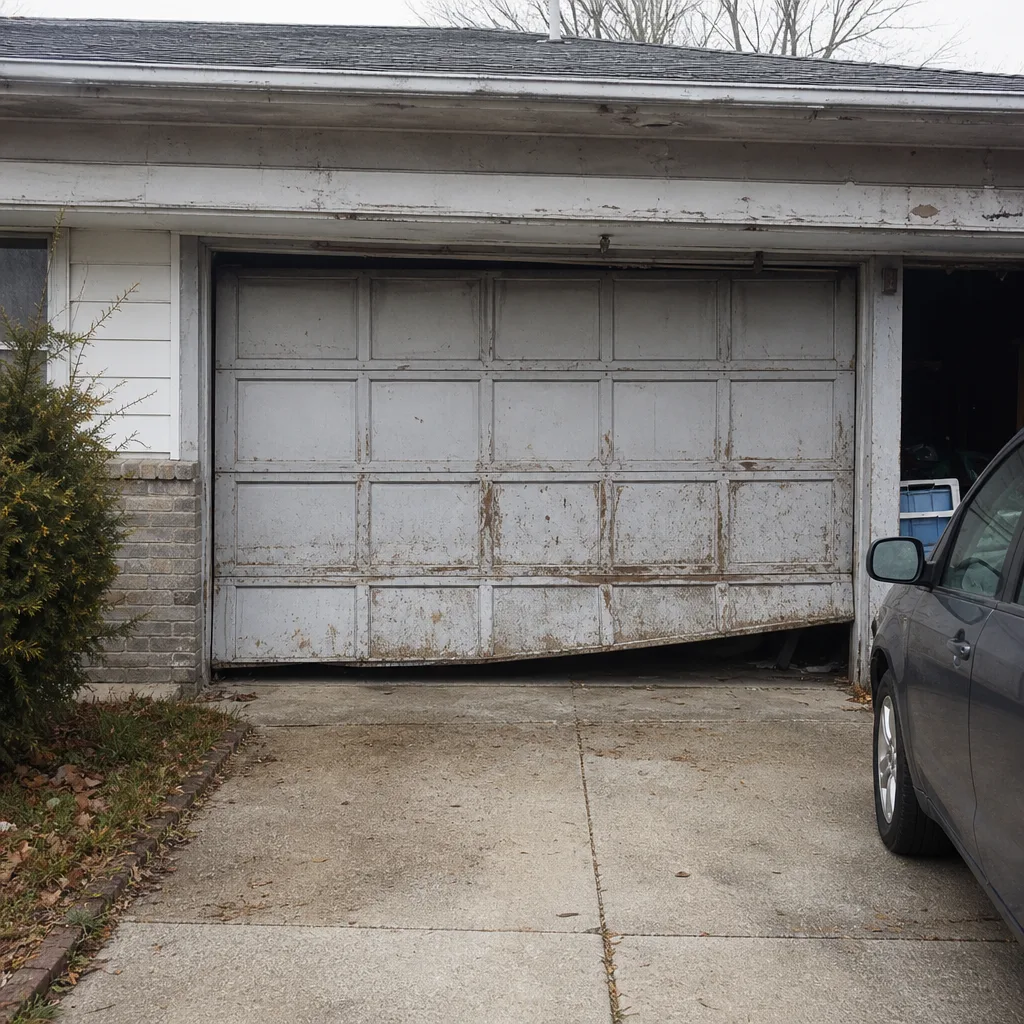 Before
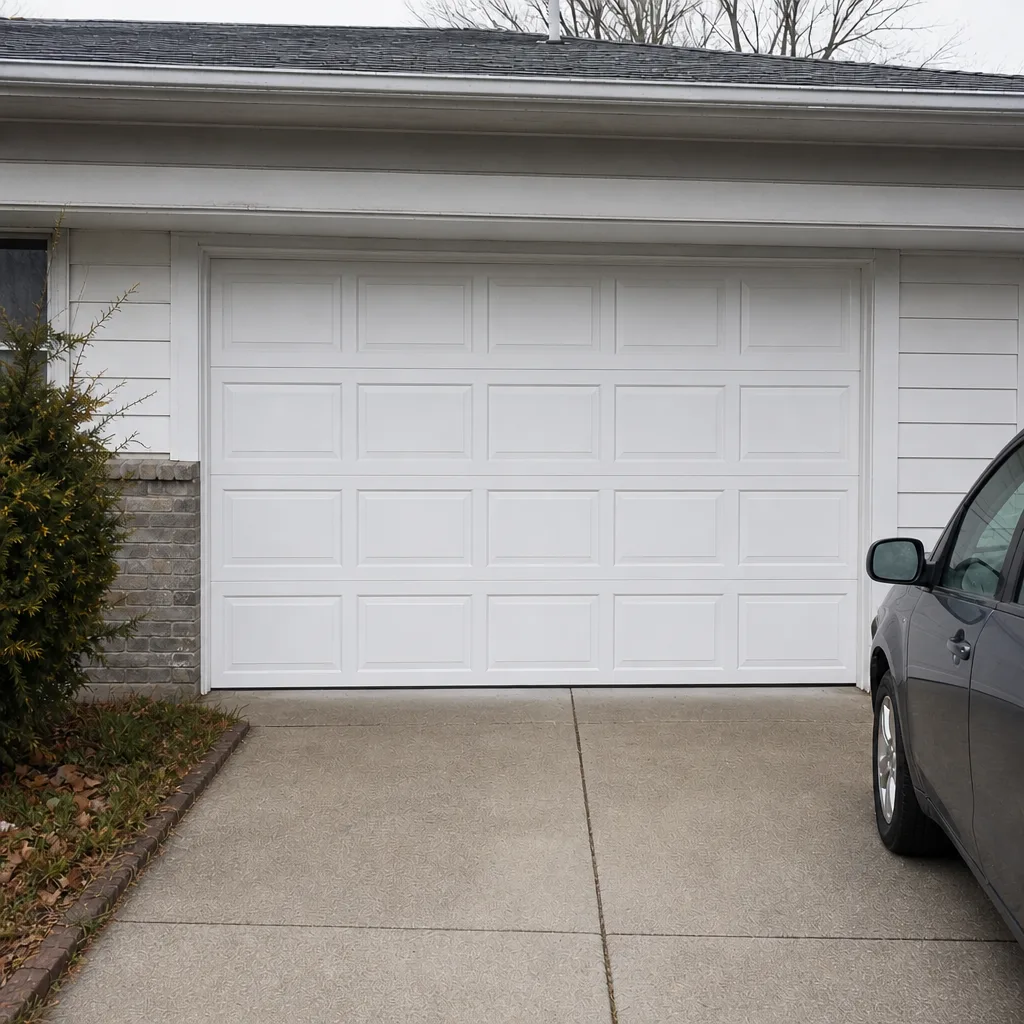 After
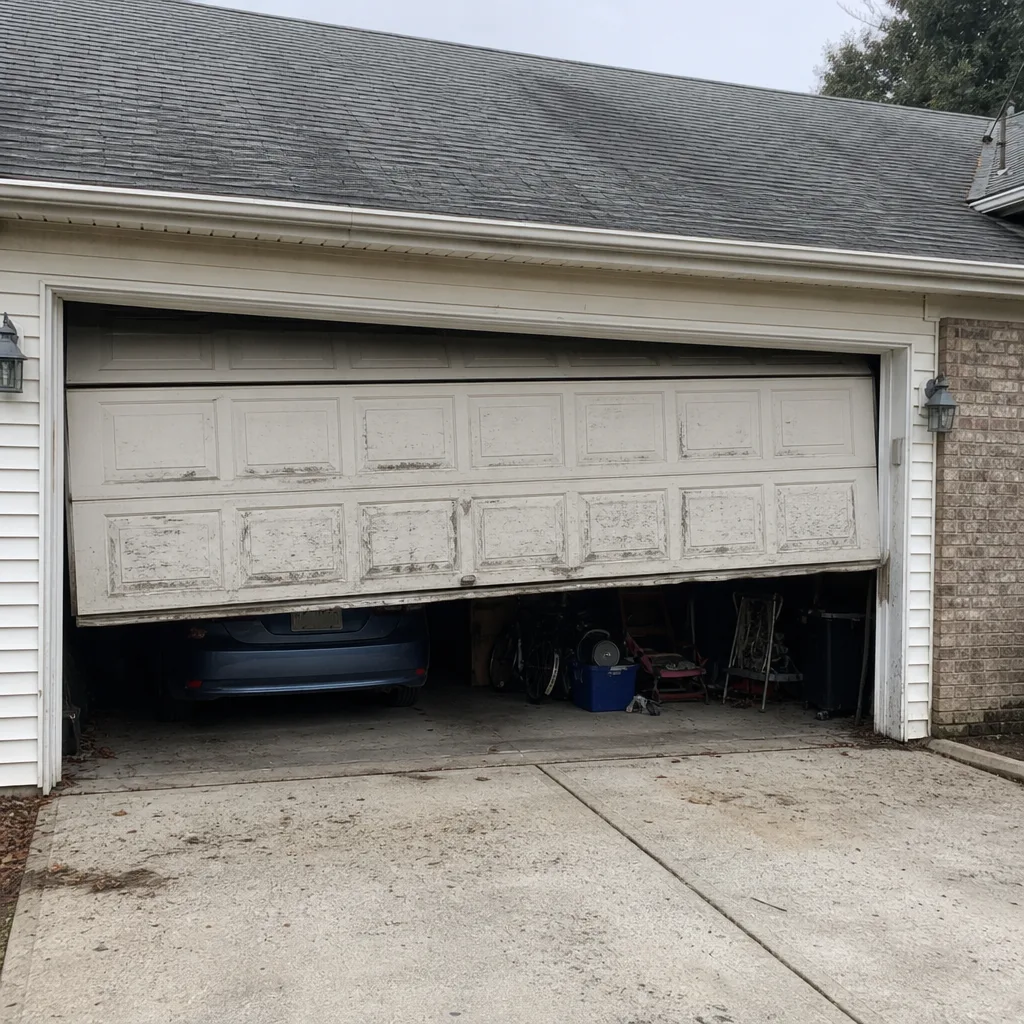 Before
 After
 Before
 After
When to Call a Professional
Call a professional the moment you see a gap in a torsion spring, a frayed or off-drum cable, a door that won’t stay balanced, a door that’s jumped its track, or a safety reverse that won’t trip. Those are the conditions where continuing to use the door risks injury or turns a repair into a replacement. Rollers, hinges, lubrication, and debris cleanup you can handle. The parts under tension, you shouldn’t.
Eldridge Garage Door Repair offers free estimates in Lakewood, and we’ll tell you what needs fixing and what can wait. Call (888) 287-5235. We answer 24/7. Fast dispatch from 7am to 7pm, Sunday through Friday. Our technicians have up to 8 years of experience, and the price is quoted and agreed before any work starts, so there are no surprises once we’re done.
Frequently Asked Questions
Inspect the door once a season and lubricate twice a year, in spring and fall. Test the balance and safety reverse monthly. The extra humidity in Lakewood’s warm months makes the fall lubrication and monthly rust check more important than they’d be in a dry climate.
You can wipe the exterior of a torsion spring, but don’t try to adjust or service one. Springs are under extreme tension, and a single wrong move can cause serious injury. Lubricate the rollers and hinges yourself and let a trained technician handle the spring itself.
A broken torsion spring shows a clear gap of an inch or more in the coil, or in extreme cases two separate pieces. You may also see rust staining or flaking paint. If the door still moves on one spring, stop using it and call, because the remaining spring is carrying double the load.
Usually not. A LiftMaster or Craftsman opener that reverses unexpectedly is often reporting resistance from the door itself, which usually means a weakening spring or a binding roller. Check the balance test first, and if the door drops on its own, the opener is doing its job.
A routine tune-up is a small job, and spring or cable repairs are priced per job by a written estimate, so call for an exact number. The estimate is free, and the price is agreed before any work begins. Call (888) 287-5235 for a quote.
Yes, and a simple one is enough. It tells the next technician exactly what was checked and when, which shortens the diagnosis, especially for brand-specific parts on Clopay or Wayne Dalton doors. It also shows you patterns, like a spring that weakens a little more each season.
The Bottom Line
A garage door checklist is only useful if you know what pass and fail look like. Springs and cables you inspect from a distance and never touch, because the risk is real. Rollers, hinges, tracks, the balance test, and the opener’s safety reverse are all safe to check yourself and worth doing on a schedule. Lakewood’s humidity and freeze-thaw swings make seasonal timing matter, so lubricate in spring and fall and watch for rust year-round. Keep a simple log, and when something fails the test, call rather than force it. That’s the whole system, and it’s a lot cheaper than a snapped spring.
Call (888) 287-5235 for a free estimate. We answer 24/7. Fast dispatch from 7am to 7pm, Sunday through Friday. If a call comes in outside dispatch hours, it’s booked into the next opening. Our single-trade focus is garage doors, from springs to openers to full door installation, so one call covers the checkup and anything it turns up. Learn more about how we work at Eldridge Garage Door Repair.
Written by the team at Eldridge Garage Door Repair.