
Last updated November 21, 2026
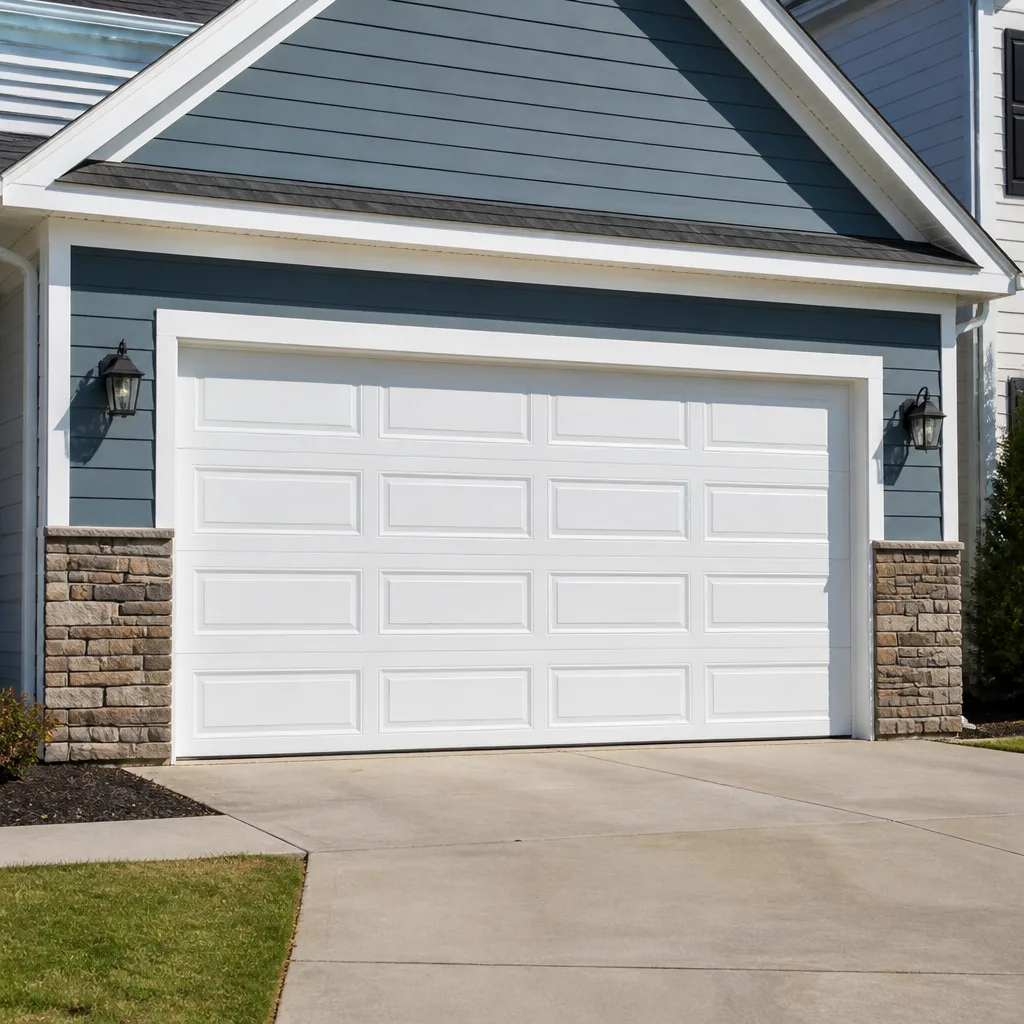 Raised-panel steel
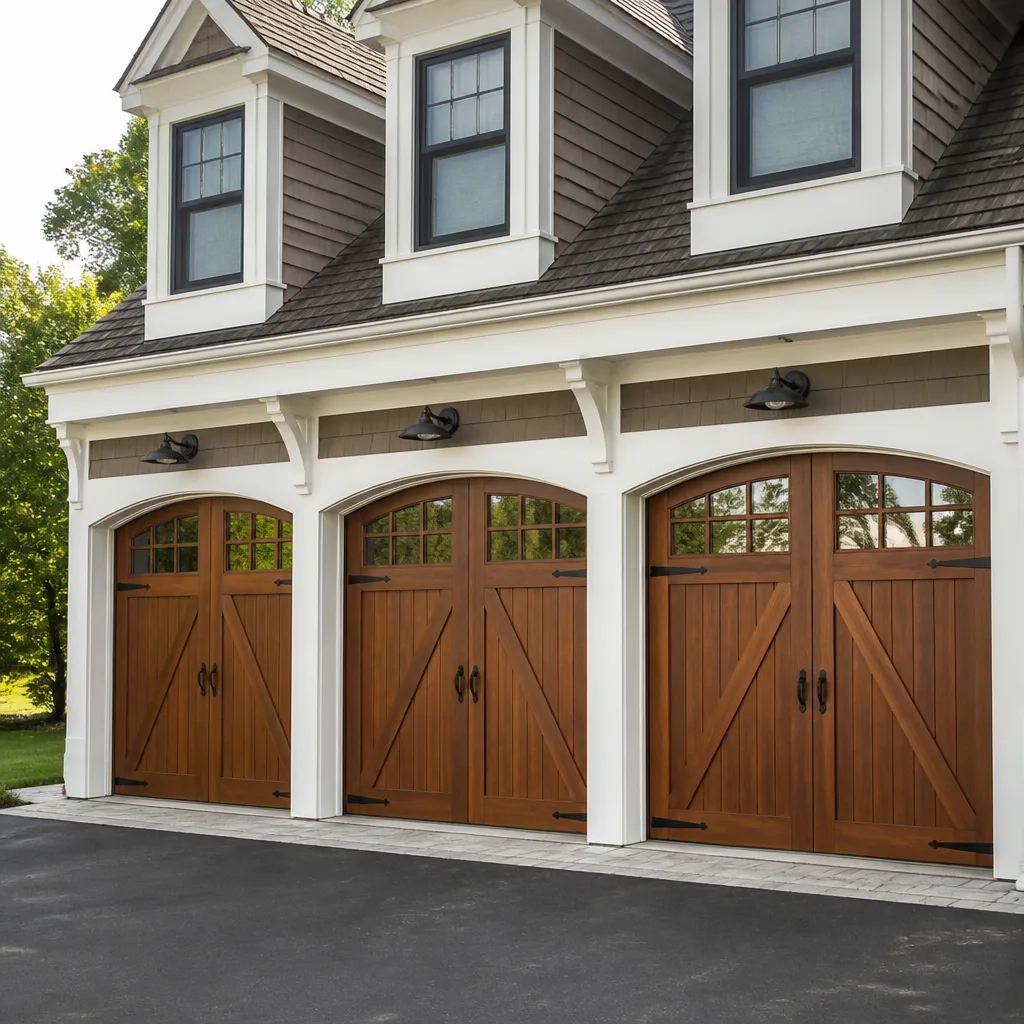 Carriage house
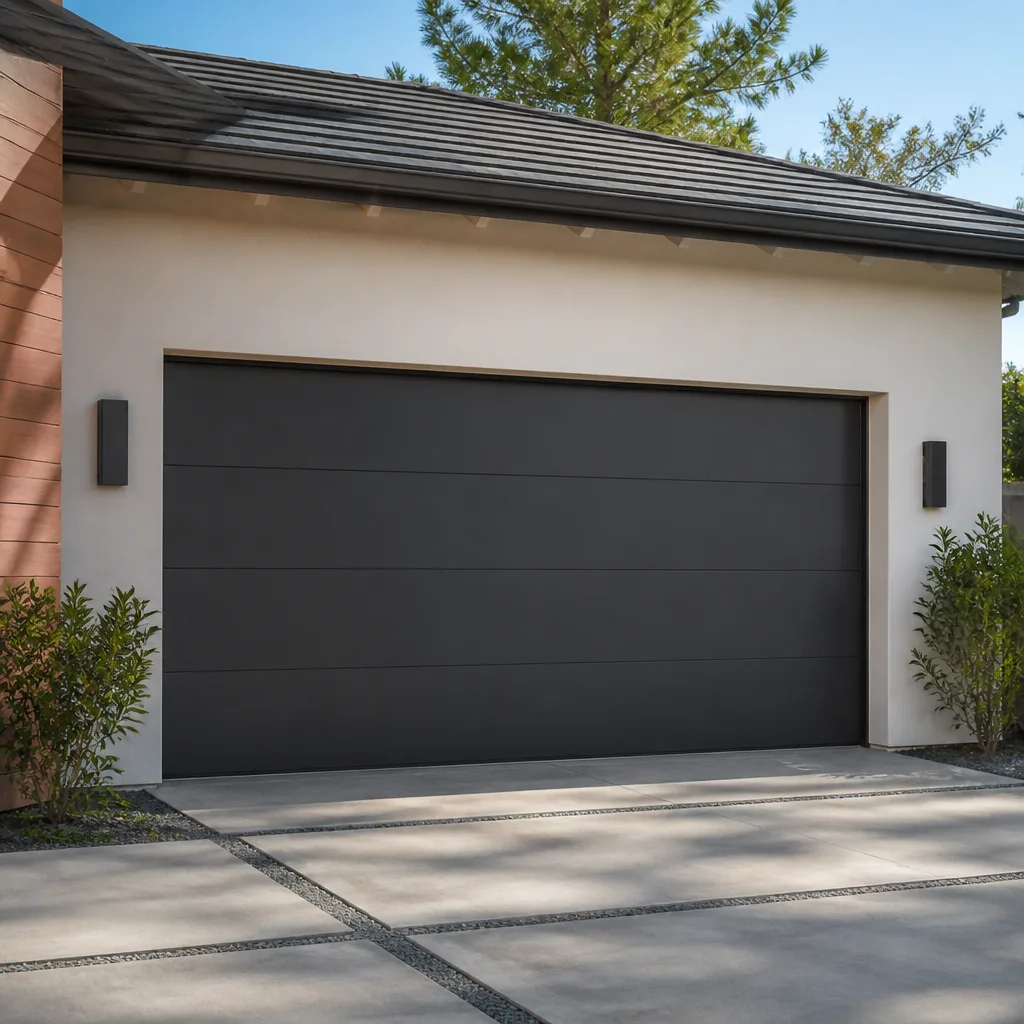 Modern flush
 Full-view glass
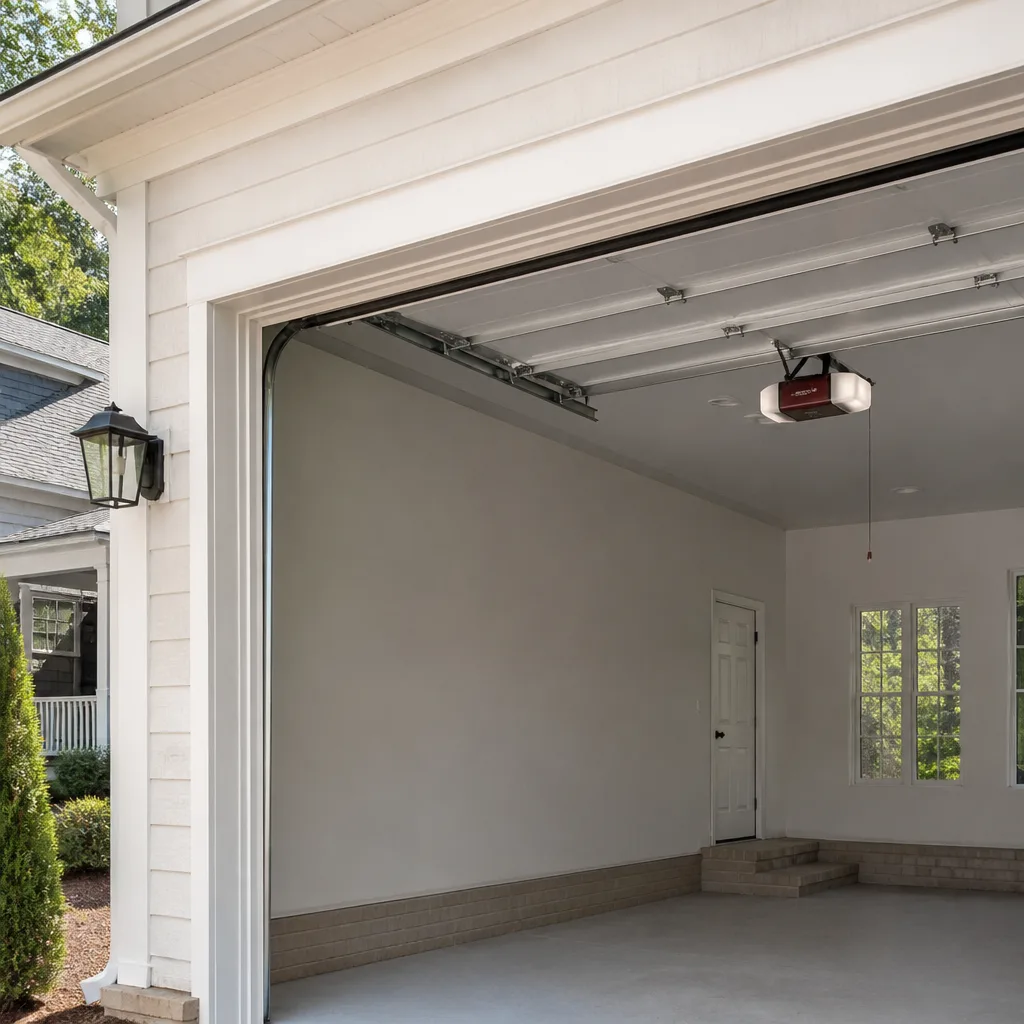 LiftMaster openers
 Chamberlain openers
Full 25-point door and opener safety check with every visit - springs, cables, rollers, tracks, and your LiftMaster or Chamberlain opener included
You get a price before we start. It does not change when the pro arrives.
Get your free estimateDIY vs Professional Garage Door: The Lakewood Homeowner’s Decision Guide
You can absolutely replace your own weather stripping. You should not adjust your own torsion springs. Not because the job is complicated, but because the failure mode is a 200-pound door dropping on you. Most DIY-versus-pro guides draw the line in the wrong place. Some treat a garage door like a live electrical panel and tell you to touch nothing. Others hand out spring-winding instructions like it’s a Saturday project. Neither helps a Lakewood homeowner who just wants to know what’s reasonable to handle and what genuinely isn’t. This guide sorts the common garage door jobs into three honest buckets: safe DIY, DIY with caveats, and professional-only. We’ll explain the physics behind the dangerous jobs, what DIY work can mean for your manufacturer warranty, what a real cost comparison looks like, and how to diagnose your own door so any call you make is a short one.
Quick Answer
Most garage door work splits cleanly into two groups. Cleaning, lubricating, balancing the door by hand, replacing weather seals, tightening hardware, and pairing a remote are safe for a homeowner. Spring work, cable work, and anything involving high-tension parts are professional-only, because the stored energy in a torsion spring can injure you before you have time to react. If your door won’t open, won’t close, or makes a loud bang, the smart move in Lakewood is to diagnose it yourself, then call a specialist to handle the repair with a written price agreed before any work starts.
Styles & brands we work with
- Raised-panel steel
- Carriage house
- Modern flush
- Full-view glass
- LiftMaster openers
- Chamberlain openers
Table of Contents
- A Task-by-Task Breakdown: What’s Safe and What Isn’t
- Why Torsion Springs Are Different: The Physics in Plain English
- What DIY Work Does to Your Manufacturer Warranty
- The Real Cost of DIY vs Professional Repair
- How to Diagnose Your Own Door Before You Call
- How Lakewood Weather Affects Your Door
- What Lakewood Homeowners Actually Deal With
- Safety Rules That Apply to Every Job
A Task-by-Task Breakdown: What’s Safe and What Isn’t
Here’s the honest split. Read it before you pick up a tool, because the boundary isn’t about how hard a job looks. It’s about whether a mistake gives you a second chance.
Safe DIY
- Lubricating rollers, hinges, and tracks. A few drops of garage-door lubricant on metal contact points each season keeps things quiet and reduces wear. This is genuinely a homeowner job.
- Replacing weather stripping and bottom seals. The rubber seal along the bottom of the door and the strips around the frame wear out and pull away. New seals restore the gap and keep rain and cold air out.
- Tightening exposed nuts and bolts. A door that rattles usually has loose hardware on the panels and hinges. A socket wrench and five minutes is all it takes.
- Cleaning and aligning photo-eye sensors. If your door reverses for no reason, wipe the small lenses at the bottom of each track and check that they point at each other.
- Pairing and reprogramming remotes and keypads. This is a button-press sequence in your opener manual. Safe on LiftMaster and Chamberlain units, and safe on most others.
- Testing the door’s balance by hand. With the opener disengaged, lift the door halfway and let go. A healthy door stays put. A door that drops is telling you a spring is failing.
DIY With Caveats
- Replacing an opener. Some homeowners manage it, but you’re dealing with the electrical connection, the mounting bracket, the travel limits, and force settings. Get it wrong and you can strip the gear or leave the door without its safety reversal.
- Adjusting the door’s travel limits and force settings. These are the two dials or menu settings that tell the opener how far to move and how hard to push. Adjusting them is safe in itself. Adjusting them to cover up a mechanical problem is not, because you’ll be masking a failing part.
- Straightening a bent track. Light reshaping of a minor kink can work. If the track is bent enough that the rollers bind, the door needs to come down and the track replaced.
Professional-Only
- Torsion and extension spring replacement. These store enormous energy. There is no safe home method for winding a torsion spring.
- Cable replacement and re-spooling. Cables are under tension and snap back with force when released.
- Replacing the bottom bracket. The bottom bracket is what the cable attaches to. Under load it is one of the highest-risk parts on the whole door.
- Replacing a full door or a section after impact. Panel weight, track alignment, and spring matching all have to be right, or the door will bind or fall.
For the jobs in that last list, our garage door repair specialists handle the diagnosis and the safety work in one visit. We work on Clopay, Wayne Dalton, and the major opener brands, so we’re not learning your system on your driveway.
Why Torsion Springs Are Different: The Physics in Plain English
A torsion spring is a metal bar that has been wound tight on purpose, and it holds that tension for years, every day, whether the door is moving or sitting still. That’s what makes it a different kind of job from anything else on a garage door. When you push a torsion spring, you’re not fighting the door. You’re fighting stored rotational energy wound into a steel coil.
Here’s how the door actually balances. A torsion spring is mounted on a shaft above the door and wound so that it pulls against the door’s weight. The spring doesn’t just help; it counterbalances almost the entire load. Without that counterbalance, the door is a solid panel of steel or wood weighing a couple hundred pounds, all of which the opener would have to move on its own. That’s why a broken spring makes the door feel impossibly heavy, and why lifting it by hand with a broken spring is more dangerous than it feels.
Now think about what happens when a spring fails. The energy that was wound into it releases all at once. In a wound torsion spring, that release is a bang loud enough to hear from the other end of the house, followed by the full weight of the door coming down. People who try to wind or unwind a torsion spring by hand are working directly beside that stored energy with tools that weren’t built to hold it there.
Extension springs carry tension the same way but along the length of the door, and a failed extension spring snaps back toward the wall with a whip. Both types are professional jobs for the same reason: the energy doesn’t care how careful you’re being. It only cares whether the tension has been released in a controlled way.
What you can do is recognize the stage the spring is at. Watch for these signs:
- A visible gap in the coil. That spring has already broken.
- The door gets heavier to lift by hand, or the opener strains to raise it.
- A loud pop or bang from the garage, followed by a door that won’t go up.
- The door sits crooked, with one side higher than the other.
- You hear a rhythmic slight grinding as the door opens.
One broken spring almost always means the pair should be replaced together, since the second spring has lived exactly the same number of cycles as the first and is close to the same failure point. A matched pair costs about twice the price of a single spring. When we’re out on garage door spring repair, we’ll tell you which springs need replacing and why, then quote the work before we start.
What DIY Work Does to Your Manufacturer Warranty
Most major garage door manufacturers write their warranties to cover defects in materials and workmanship, not results from repairs done outside the original installation or a professional service. The wording matters. Clopay’s warranty terms limit the company’s obligation to the original purchaser and exclude damage from improper installation, alteration, or repair, and the same is broadly true across the major manufacturers. Wayne Dalton’s warranty documents carry similar exclusions around misuse and repairs it didn’t perform. LiftMaster’s opener warranties are written around proper professional installation and exclude damage from tampering and unauthorized service.
In practice, this means if a spring fails early or a panel cracks at a weld, the manufacturer can point to your own repair work as the cause. Whether or not that’s fair, the burden lands on you to argue it. That’s the real warranty cost of DIY: not that the warranty is automatically void, but that you’ve handed the manufacturer an easy reason to deny a claim.
A related point often gets skipped. Many warranties also specify installation requirements, and a reversible opener has to be installed with working photo-eye sensors under the safety standard it was built to. A DIY install that skips or misadjusts those sensors leaves the door in a state the manufacturer won’t stand behind.
The good news: weather-seal replacement, lubrication, hinge tightening, and remote pairing don’t touch those clauses. And when a repair needs to happen, a proper warranty-preserving fix is exactly what we do on garage door opener repair and on the door hardware itself.
The Real Cost of DIY vs Professional Repair
The parts price is the smallest part of the DIY math. A torsion spring alone costs a fraction of a repair bill, which is why people try it. But that’s not what the job actually costs.
Here’s what a homeowner is really spending:
- The tools. Winding bars for torsion springs, a proper set of sockets, safety glasses, and a stable ladder. Most of this sits in the garage unused after one job.
- The time. Spring replacement by an experienced technician is a fast job. The same repair done by a first-timer, reading instructions on a phone, takes far longer, and that gap widens with every mistake.
- The callback risk. This is the part most DIY breakdowns ignore. A spring that’s replaced but wound to the wrong tension leaves the door unbalanced. An opener installed without set travel limits reverses at the wrong point. Cables that aren’t spooled correctly bind the door. Each of those turns into a second repair, this time with no spring left to return to the store.
- The real price of an injury. Anything that costs a hospital visit makes the entire comparison moot.
Now put that next to a professional repair. The number is set by the written estimate, quoted and agreed before any work starts. That’s the figure that matters: the price you were given, not a surprise on the invoice. A tire-kicker asking what a spring job “usually runs” will get far less value than someone who knows their door, their opener, and their symptom.
Where DIY clearly wins is on the cheap, reversible jobs. A new bottom seal or a can of lubricant against a service visit is an easy call. The math flips once you’re dealing with springs, cables, or a door that’s come off its tracks. Those are the jobs where the diagnosis, the parts matching, and the work are best done together by someone who has the track clear in their head before they start.
How to Diagnose Your Own Door Before You Call
Diagnostics are always safe, and doing them yourself saves you money even if you hire out the repair. A technician who arrives already knowing the symptom starts the repair instead of an hour of head-scratching, and you pay for the fix, not the hunt. Run through this before you pick up the phone.
- Look at the whole door from a distance. Is it sitting level? A door that’s crooked on one side points to a cable or spring problem on that side, not an opener problem.
- Check both torsion springs. Look at the spring above the door. If you see a gap in the coil, the spring is broken. Don’t lift the door.
- Listen to the motor. A whining motor with no door movement means the opener is trying but the door isn’t following. Access the emergency release cord only if the door is in the down position and no one is under it.
- Check the power and the remote. Try the wall button as well as the remote. If the wall button works and the remote doesn’t, it’s a pairing or battery issue, not a door problem.
- Inspect the photo-eye sensors. Are the small lenses on each track facing each other? Is anything blocking them? Wipe them clear and try again.
- Watch the door move. Stand well clear and watch it go up. Does it stick, jerk, or pause halfway? A door that binds on the way up points to a track or roller issue.
- Write it all down. Note what you saw, heard, and tried. That list is what a technician wants to hear.
That last step is the one that saves you the most. If you come to us in Lakewood with a clear symptom and a brand name, we already know if it’s a Clopay door, a Wayne Dalton, or a LiftMaster opener before anyone touches the driveway. We work across nearly all the major residential systems, so that familiarity is standard.
How Lakewood Weather Affects Your Door
Lakewood winters swing between freezing nights and warmer afternoons, and that freeze-thaw cycle works on a garage door more than most homeowners realize. Metal expands in the afternoon sun and contracts overnight. The bottom weather seal stiffens in the cold and loses its grip against the concrete. Freezing temperatures also make the steel of a torsion spring more brittle, which is why spring failures cluster around the colder months.
The summer heat brings its own set of effects. Lubricant in the rollers and hinges moves differently in high heat, and wooden door panels absorb and release moisture, which can shift a panel’s shape over a season. Doors that were adjusted in fall can need a small correction once the weather changes.
That seasonality shapes the timing of DIY work. Late fall and early spring are good times to inspect seals and rollers, since the weather is between extremes. Colder months are when you most want to test a door’s balance and listen for new noises. If you notice a new sound or a heavy door in January, treat it as a warning rather than a grumble.
None of this is a reason to panic. It’s a reason to watch and to check. Lakewood weather is hard on door mechanisms, so a little attention at the change of season stretches the life of everything on the door.
What Lakewood Homeowners Actually Deal With
Garage doors in Lakewood homes see a lot of daily cycles. Between school drop-offs, shopping trips, and the general routine of a busy household, a door here might cycle four or six times a day, and each cycle adds a little wear to the springs. A five-year-old spring that’s had thousands of cycles behind it is a spring that doesn’t owe anyone a warning.
The housing here includes a wide mix of older doors and newer installs. Some homes have single-door setups with an opener that has been in place longer than the door. Others have newer Chamberlain or LiftMaster units with app control and Wi-Fi pairing. Both systems behave differently when they fail, and the DIY decision is a little different for each.
For older doors, parts matching matters. A door that was installed two decades ago may have springs or hardware that aren’t standard stock any more, so a homeowner with good intentions can easily buy the wrong part. For newer smart openers, the issue is often software and pairing. When a remoted app stops connecting, that’s a diagnostic job, not a mechanical one, and it’s often solved without a tool.
If your door is giving you trouble, our Eldridge Garage Door Repair specialists cover the whole range, from a door that won’t close to a full new system, so you don’t need a second contractor when the job moves from repair to replacement.
Safety Rules That Apply to Every Job
These hold no matter how small the job looks. Before you touch anything:
- Never stand under an open door. The door’s weight is held by the springs and cables. Standing beneath it puts you under that load if anything gives.
- Never attempt to adjust, wind, or release a torsion or extension spring. There is no safe home method for this, and no amount of care makes it safe.
- Never touch a cable that’s under tension. If a cable looks slack or off its drum, step away and call.
- Keep hands clear of the hinges and tracks when the door moves. The gap between the door and the track is a pinch point at every hinge.
- Keep children and pets away from the door while you’re working. A door that’s been partially taken apart behaves unpredictably.
- Only work on the door when it’s fully down. If it must be up to inspect, make sure it’s supported and stable.
- Don’t disable the photo-eye sensors to get the door moving. They’re there so the door reverses when something is under it, and the door cannot be relied on without them.
- Don’t use a ladder on an uneven surface. Garage floors slope toward the door, and a ladder on that slope is a fall waiting to happen.
The trade-off a professional brings is that speed and safety are the same thing. A technician works on a door with a specific sequence that avoids the energy pockets and knows the failure modes for the brand. That’s what the trade is, and it’s why a spring job is a short visit for a trained technician and a dangerous afternoon for anyone else.
Common Mistakes to Avoid
- Lifting the door by hand with a broken spring. That heavy door is the counterbalance missing, and a sudden slip can drop it. Recognize the symptom from a distance instead and call.
- Treating one broken spring as a single replacement. A matched pair usually goes together, because the second spring has the same wear. Replacing one and leaving the other sets the door up for a second failure.
- Buying parts by part number without checking the door. Springs are matched to the door’s weight, not just its size. A wrong-rated spring makes the door hard to lift or leaves it unbalanced.
- Adjusting the opener’s force setting to compensate for a hard-to-lift door. That setting is there to detect a problem. Turning it up lets the opener force through a mechanical issue and strips the gear instead.
- Ignoring a slight wobble or new noise. A new rattle usually means loose hardware or a worn roller, and both are cheap to fix early and more expensive later.
- Skipping the seal at the start of winter. A worn bottom seal lets cold air and moisture in, and a frozen seal can set into the concrete and pull further down.
- Forgetting the remote-pairing step on a new opener. A door that works from the wall button but not the remote is almost always a pairing issue, not a broken opener.
Each of these costs a small amount to handle right and costs more to do twice. Lakewood homeowners deal with every one of them, and none of them require a full replacement to solve.
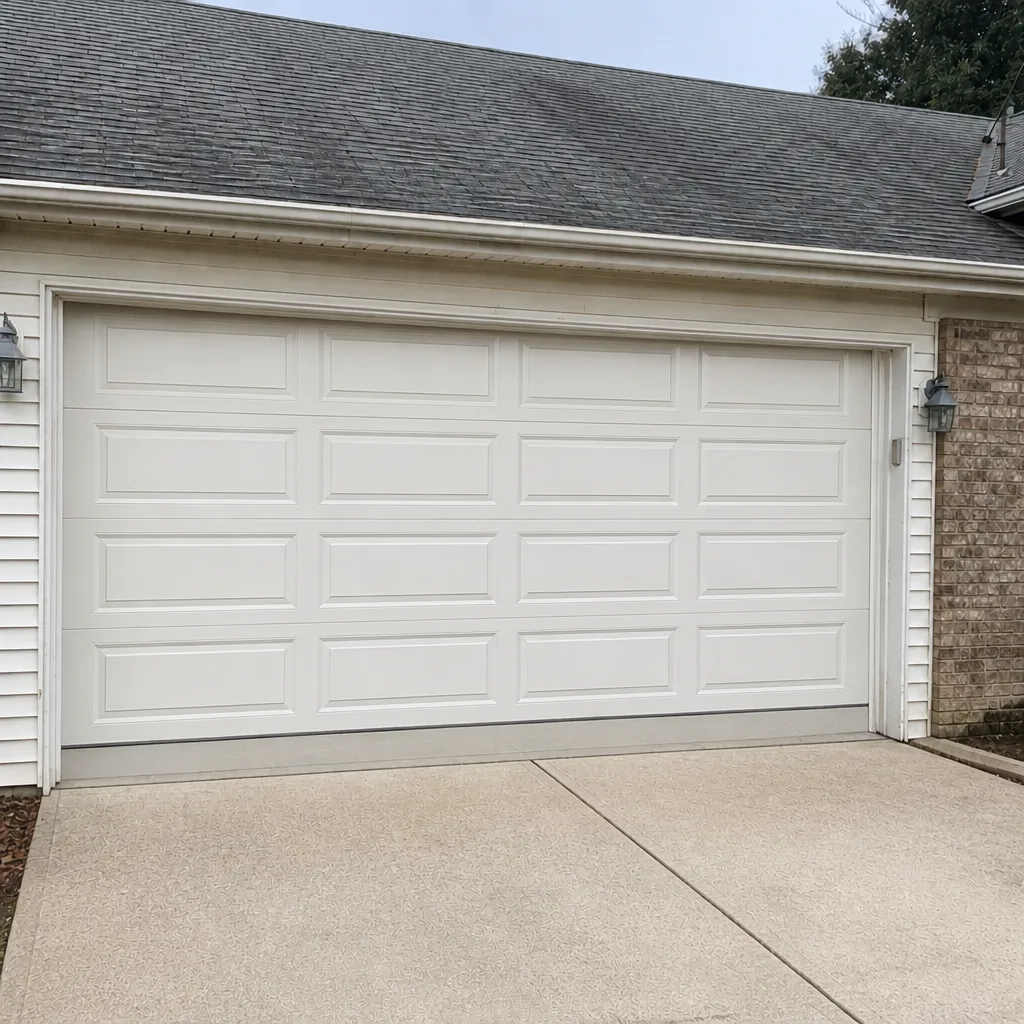
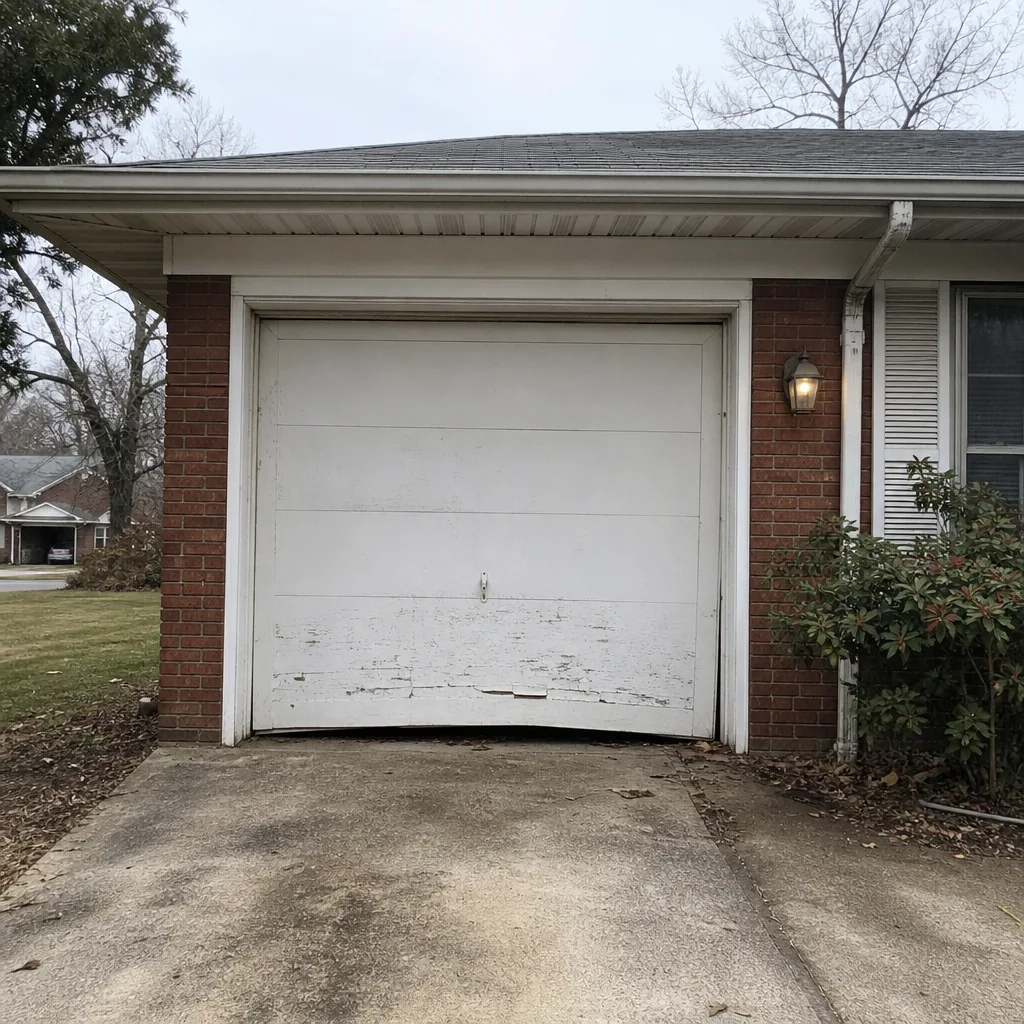
See the difference
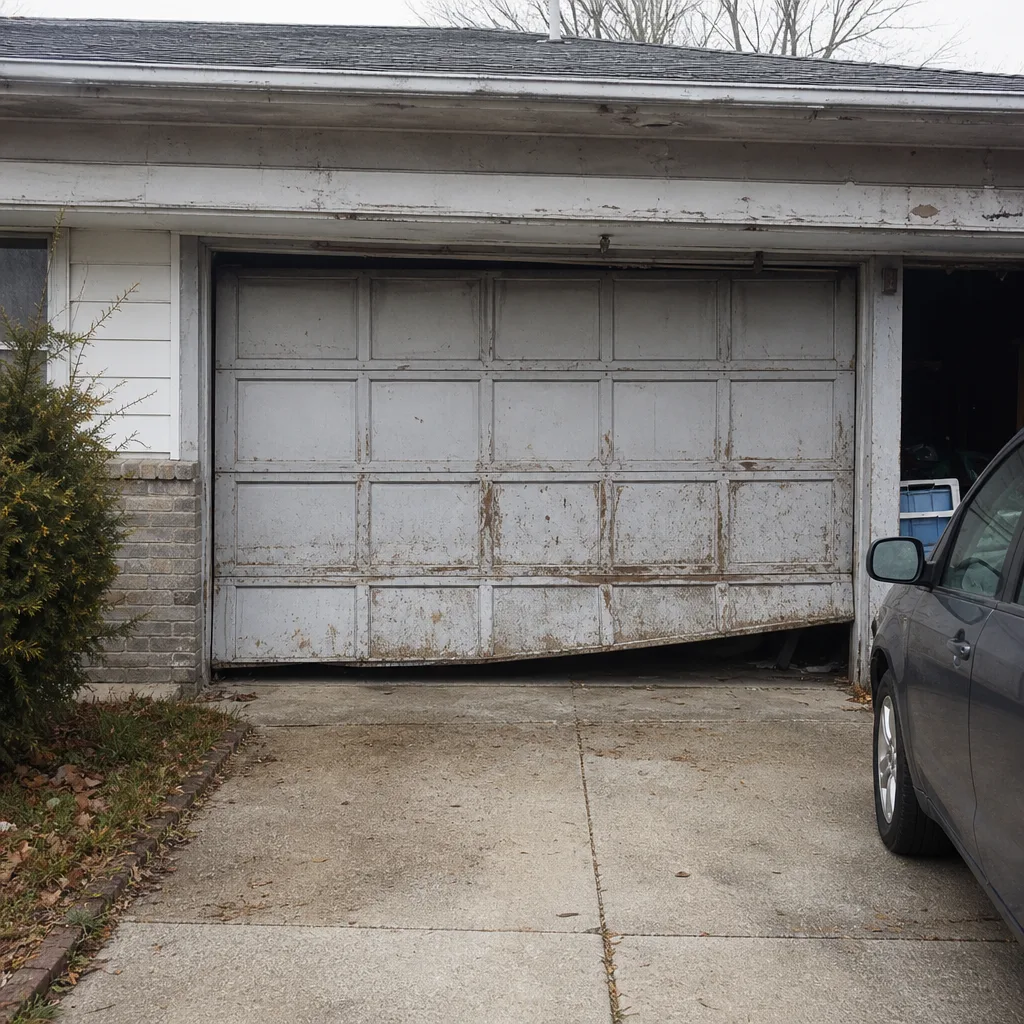 Before
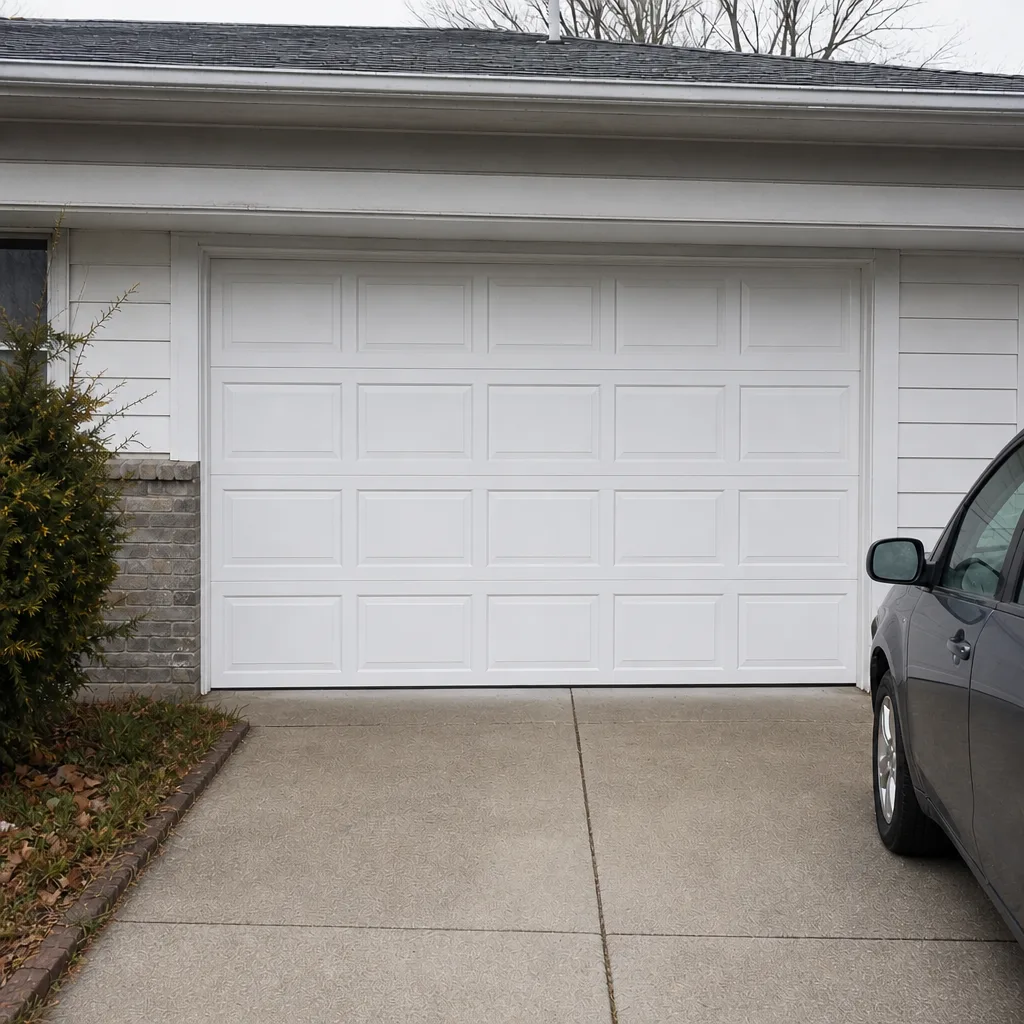 After
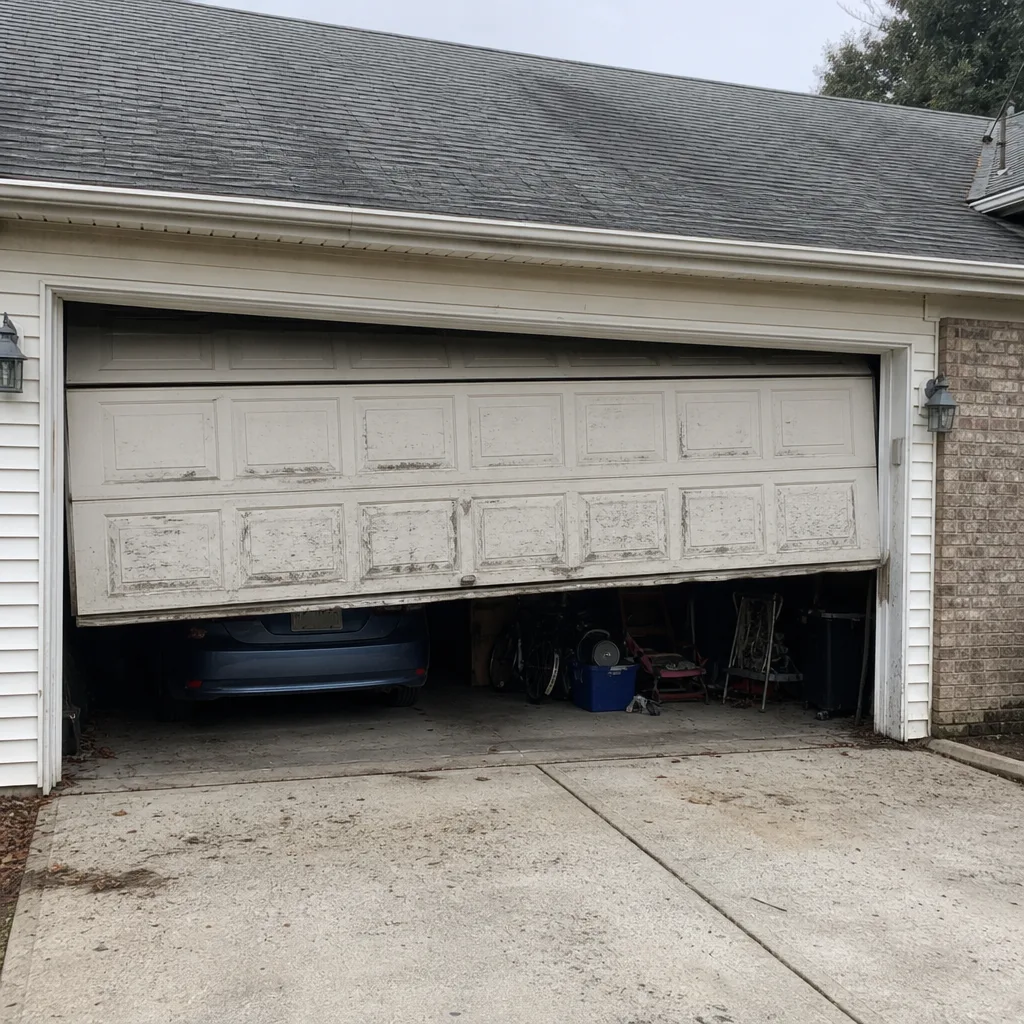 Before
 After
 Before
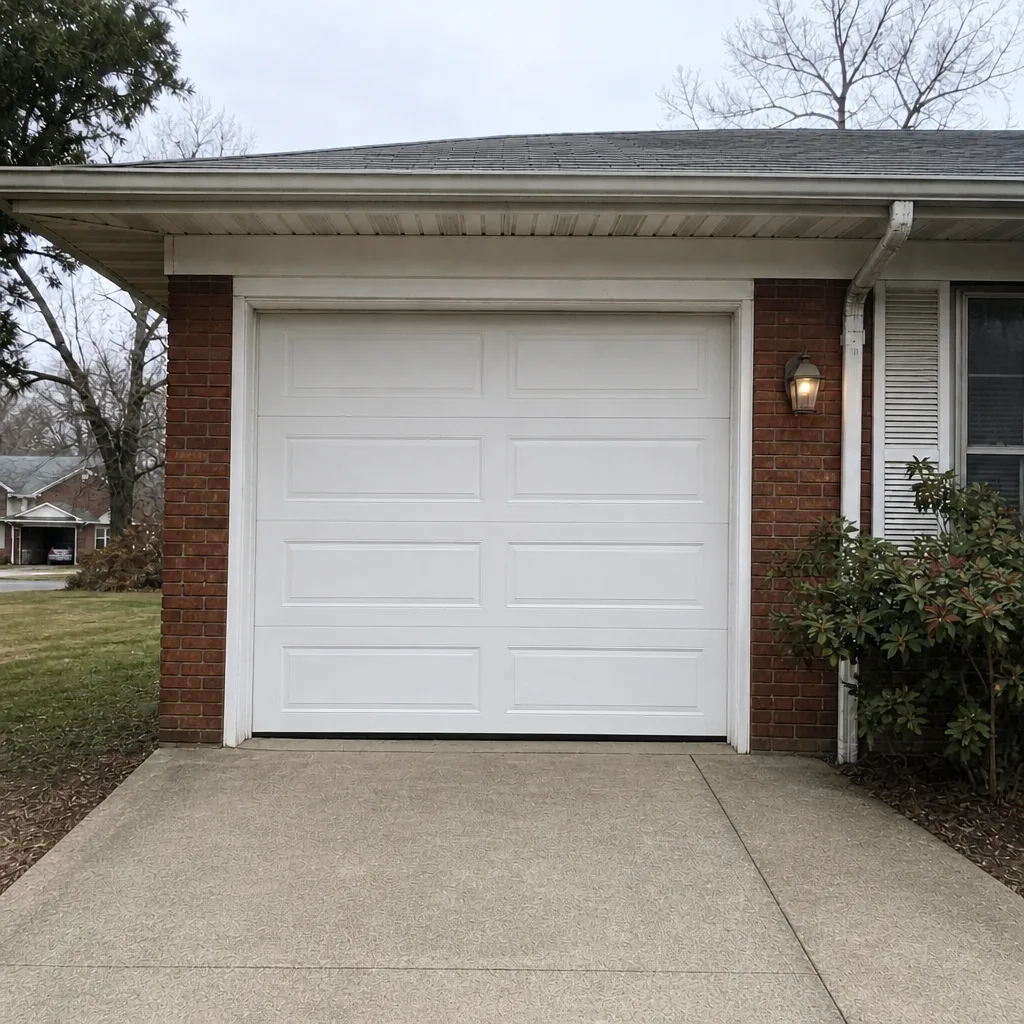 After
When to Call a Professional
Call a professional the moment you see a broken spring, a loose cable, a door that’s come off its track, or a door that won’t close. Call when the opener runs but the door doesn’t move, when the door reverses at random, or when a panel has been hit or bent. Call before you buy anything that involves spring tension, because the part has to match the door. And call when the diagnosis points past a quick fix, so the repair is done once and done right.
Eldridge Garage Door Repair offers free estimates in Lakewood. We quote and agree the price before any work starts, so the number you hear is the number on the invoice. Our technicians have up to 8 years of experience, and we service eight of the most widely installed brands, including LiftMaster, Chamberlain, Genie, and Raynor. Call (888) 287-5235. We answer 24/7. Fast dispatch from 7am to 7pm, Sunday through Friday.
Frequently Asked Questions
No. Winding bars and the correct tools make a technician’s job faster, but they don’t make a torsion spring safe to handle untrained. The spring holds a large amount of stored energy, and the failure mode is a sudden release, so this is professional-only work regardless of the tools.
Usually repair is worth it when the door structure is sound and the problem is a component: a spring, a cable, a roller, or a seal. Replacement makes more sense when panels are severely damaged or the door is beyond minor repair. The estimate should tell you which one you’re looking at. Call (888) 287-5235 for a free estimate.
It can. Many manufacturer warranties, including the warranty terms that cover Clopay and Wayne Dalton doors and LiftMaster openers, exclude failures caused by improper repair or alteration. A claim can be denied if it’s traced to a homeowner repair. Keep any repair to the non-mechanical jobs and the warranty exposure stays low.
Torsion springs are mounted on a shaft above the door and twist, storing energy in the coil. Extension springs run along the door and stretch. Both are under tension and both are professional-only jobs. Which your door uses depends on the system, and a quick look above the door tells you which you have.
We’re closed Saturday. We’re open Sunday through Friday, 7am to 7pm. We answer 24/7, and a call outside dispatch hours is booked into the next opening, Sunday through Friday, 7am to 7pm, so a door that fails late in the week gets scheduled as soon as we’re back open.
Every job is priced on its own by a free written estimate, and the price is quoted and agreed before any work starts, so there’s no surprise on the invoice. The cost depends on the component, the door’s brand, and the parts needed. Call (888) 287-5235 for an exact quote, and estimates are free.
The Bottom Line
The DIY-versus-pro split isn’t about skill level, it’s about consequences. Lubricate your rollers, replace your seals, tighten your hinges, and pair your remotes with confidence. Stay away from springs, cables, and bottom brackets, because those can hurt you badly and the risk isn’t worth the savings. Diagnose your own door before you call, so the conversation starts at the repair and not the head-scratching. Lakewood winters are hard on the hardware, so check the balance and listen for new noises at the change of season. And when a job needs a professional, an honest, quote-first repair beats a DIY attempt with a second repair in its future.
Written by the team at Eldridge Garage Door Repair.